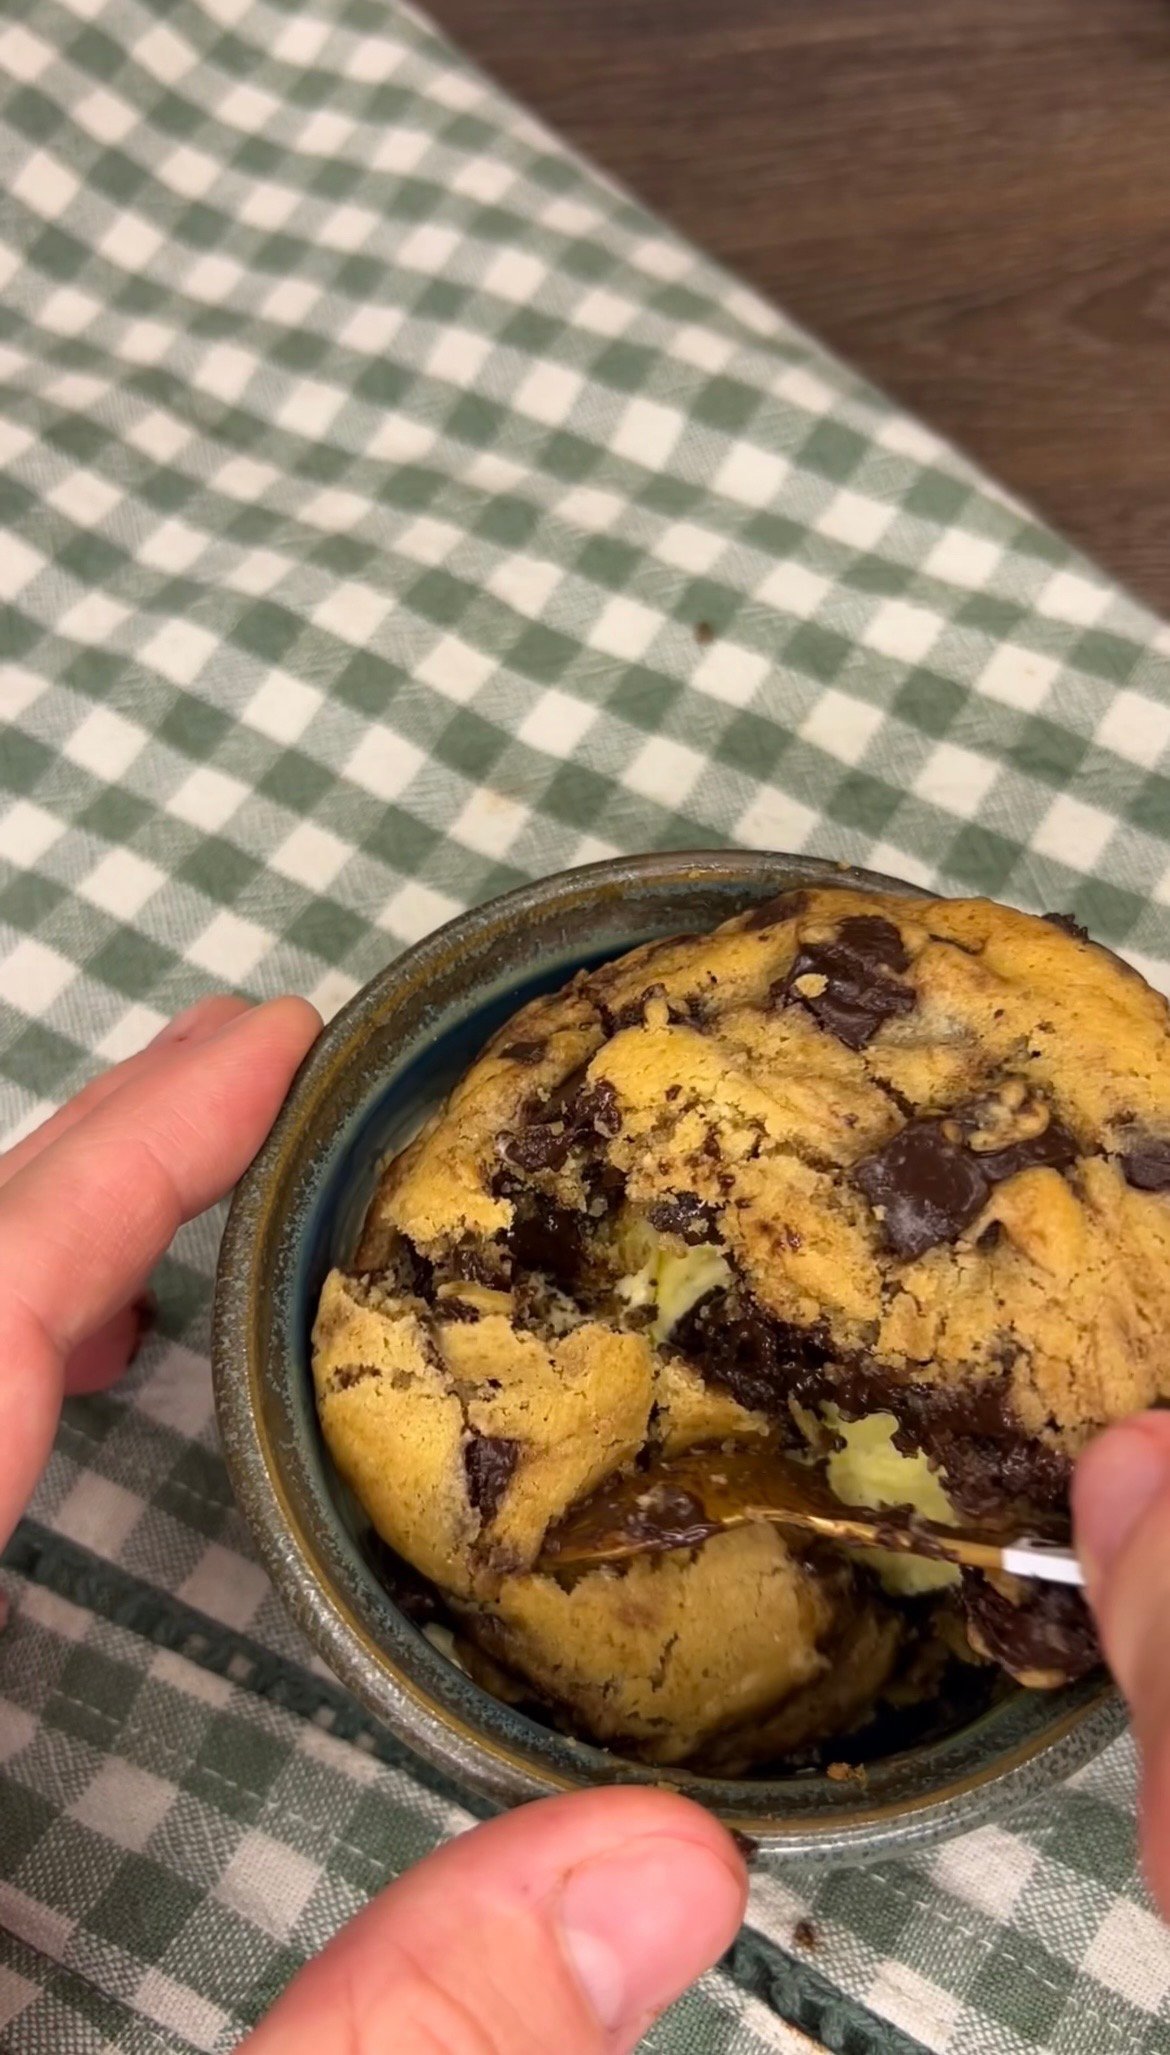
Ingredients
Method
Brown the butter
- Place the butter in a light-colored saucepan or skillet over medium heat. Let it melt completely, stirring occasionally.

- Once the butter starts to foam and bubble, continue cooking and stirring occasionally. You will notice the milk solids beginning to turn golden brown and the butter developing a warm, nutty aroma.

- As soon as the butter reaches a deep golden-brown color, immediately pour it into a heatproof bowl. This is important because the residual heat from the pan can continue browning the butter and cause it to burn.
- Set aside and let the butter cool before continuing.
Mix the butter and sugars
- Add the brown sugar and granulated sugar to the cooled brown butter. Whisk until well combined.
- Add the egg and vanilla extract and whisk again until the mixture is smooth and evenly combined.

- Make sure the butter isn’t hot when adding the egg.
Don’t burn the butter. Once it turns golden brown and smells nutty, remove it from the heat immediately and transfer it to a bowl.
Cool the brown butter before adding the egg. It should be warm or cool, but never hot.
Add the dry ingredients
- In a separate bowl, combine the flour, instant coffee powder, baking soda, baking powder, cornstarch and salt.

- Add the dry ingredients to the butter mixture and gently mix with a spatula.

- Stop mixing when there is still a small amount of flour visible. Add the chopped chocolate and gently fold everything together until the remaining flour disappears.

- Try not to overmix the dough — this will help keep the cookies soft and tender.
Don’t overmix the dough. Mix just until the flour disappears.
Use good chocolate. Roughly chopped chocolate gives you a mixture of larger melted pockets and smaller pieces throughout the cookies.
Shape the cookie dough
- Divide the dough into portions of approximately 75–80 g each.

- Roll each portion into a ball, then shape it slightly taller rather than wide. The tall shape helps the cookies remain thick as they bake instead of spreading too much.
- Arrange the cookie dough balls on a parchment-lined baking sheet, leaving enough space between them.
Freeze the dough
- Place the entire baking sheet with the shaped cookie dough balls into the freezer for 1 hour.
- There is no need to thaw the dough before baking.
Freeze the shaped dough. Baking the cookies straight from frozen helps them stay thick and gives you those soft, chewy centers.
Bake
- Preheat the oven to 175°C / 350°F.
- Once the dough is frozen, bake the cookies directly from the freezer for approximately 10–13 minutes.
- The edges should look set and lightly golden, while the centers should still look soft and slightly underbaked.
- Don’t worry if the middle looks too soft when they first come out of the oven. The cookies will continue to cook from the residual heat of the baking sheet and will firm up as they cool.
- For soft, chewy centers, it is better to slightly underbake them than to leave them in the oven too long.
Don’t overbake. The centers should still look soft when the cookies come out of the oven. They will firm up as they cool.
Shape the cookies
- While the cookies are still hot, you can use a round cookie cutter, bowl or glass slightly larger than each cookie to gently scoot the edges into a perfect circle.
- Simply place it around the cookie and make small circular movements. This also helps create thicker, bakery-style cookies.
Let them cool
- Leave the cookies on the baking sheet for at least 15 minutes before transferring or serving.
- They are especially delicious while still warm, when the centers are soft and the chocolate is melted.
Storage
- Store completely cooled cookies in an airtight container at room temperature for up to 4–5 days.For the best texture, warm a cookie for a few seconds before serving — especially if you love that soft center and melted chocolate.
Notes